How to Use the Media Sync WordPress Plugin (2026): Register FTP-Uploaded Files in Bulk
TL;DR
Media Sync is a free WordPress plugin that registers files you placed directly in the uploads folder (via FTP, SSH, or a backup restore) into the Media Library in bulk. The workflow: install, activate, open the Media Sync menu in the dashboard, scan, check the files you want, and run the import — making sure Dry Run is unchecked. If the import times out, split it into batches of 50-100 files. Keep in mind its scope: Media Sync registers files already on the server. If your goal is uploading photos straight from an iPhone, that is a different job for a different tool.
You uploaded a few hundred images to your server over FTP, opened the WordPress Media Library, and found exactly none of them. Or you restored a backup, the files came back, but the library is missing half its entries. This is the gap Media Sync exists to close.
This guide covers the full workflow — install, scan, select, import — plus the errors people actually hit (timeouts, permissions, missing thumbnails), and an honest look at when Media Sync is the right tool and when it is not.
What Media Sync Is
Media Sync is a free plugin that scans your WordPress uploads directory, finds files that are not registered in the Media Library, and imports them in bulk. It is built by erolsk8, has 50,000+ active installations, and version 1.5.2 shipped in May 2026 — actively maintained. It requires WordPress 5.3+ (tested up to 7.0) and PHP 7.4+.
Why does this plugin need to exist? Because the WordPress Media Library is not a view of your server's filesystem — it is a view of the database. Files uploaded through the dashboard or the REST API get a database entry automatically. Files dropped into wp-content/uploads via FTP or SSH do not. They exist on disk, but WordPress has no record of them, so you cannot insert them into posts or set them as featured images.
The three classic scenarios:
- Bulk-uploading images over FTP/SFTP, then needing them usable inside WordPress
- Server migrations or backup restores where files returned but database entries did not
- Migrating from another CMS by copying files straight into the uploads folder
If the database-vs-filesystem distinction is new to you, the WordPress Media Library complete guide covers how the library actually works under the hood.
Installation and Activation
Media Sync is on the official directory, so installation happens entirely inside the dashboard:
- Go to Plugins → Add New Plugin in the WordPress admin.
- Search for "Media Sync".
- Find the plugin by erolsk8 and click Install Now.
- Click Activate.
Prefer a ZIP? Download it from wordpress.org/plugins/media-sync/ and use "Upload Plugin". After activation, a Media Sync item appears in the admin sidebar. There is no setup wizard — it works immediately.
The Basic Workflow: Scan, Select, Sync
One bit of prep first: the files you want to register must already sit under wp-content/uploads. When uploading over FTP, placing files into the year/month structure (e.g. uploads/2026/06/) keeps them consistent with WordPress's normal upload paths. Files in custom folders or the uploads root are detected too, but matching the year/month convention saves cleanup later.
Step 1: Scan
Open Media Sync in the sidebar and click the scan button. The plugin walks the uploads directory and lists only the files missing from the Media Library, shown as a folder tree so you can see where everything lives.
Hidden files, WordPress-generated thumbnails (the -150x150 style suffixes), -scaled images, and retina (@2x) versions are skipped automatically. If those do not appear in the list, that is by design, not a bug.
Step 2: Select the files to register
Every file in the list has a checkbox. Select everything, or pick folders and individual files. This is the moment to leave out test images and files you will never use in content — importing everything indiscriminately just clutters the library.
Step 3: Check Dry Run, then import
Next to the import button is a Dry Run option. With it checked, the plugin simulates the import and reports what it would do without writing anything to the database. A sensible first run: do a Dry Run, sanity-check the file count and targets, then uncheck it and run for real.
A large share of "I ran it and nothing appeared in my library" reports come down to one thing: Dry Run was still checked. Before the real import, confirm the box is unchecked.
Once the import finishes, the selected files are registered attachments — insertable into posts, usable as featured images, exactly like anything uploaded through the dashboard.
Common Errors and Fixes
The import hangs or times out
The number one issue. The free version processes your entire selection in a single pass, so pushing hundreds or thousands of files at once runs into PHP's max_execution_time and memory_limit and dies mid-import — usually as an endless spinner.
Two ways out:
- Raise the server limits. Set
max_execution_timeto around 300 seconds andmemory_limitto 256M or more in php.ini or your hosting control panel. The right fix on a VPS or dedicated server. - Import in batches. On shared hosting where you cannot change PHP settings, select 50-100 files per run and repeat. Unglamorous, but reliable.
The Pro version offers incremental scanning that handles large sets in chunks — worth a look if huge FTP drops are a recurring part of your workflow.
Files do not appear in the scan (permissions)
If FTP placed files with permissions too strict for the web server to read, they silently vanish from scan results. The baseline is 644 for files and 755 for folders. Some FTP clients transfer with 600 depending on settings, and files uploaded as root over SSH can end up owned by the wrong user — both produce the same symptom. Check permissions and ownership first when a file you know is there refuses to show up.
Import succeeded but thumbnails are missing
The files are registered, but the library grid shows no previews, or the post editor offers no alternate sizes. Thumbnail generation costs memory and time per image, and big batch imports can skip it partway through.
The fix is the free Regenerate Thumbnails plugin: run it after the import and it rebuilds every registered image's sizes in one pass. Media Sync and Regenerate Thumbnails are a natural pairing — keep both in your toolkit.
When uploads fail before Media Sync is even involved
If image uploads to WordPress are failing in general — not just the FTP registration step — the diagnosis is broader. Cannot Upload Images to WordPress? 8 Causes and How to Fix Each One walks through HEIC rejections, file size caps, PHP memory, and permission errors one by one.
When Media Sync Fits — and When It Doesn't
Media Sync does one job: register files that already exist on the server into the database. Holding that scope clearly tells you when to reach for it and when to reach for something else.
Good fit:
- You already move large image sets from a desktop over FTP/SFTP
- A migration or backup restore left the Media Library missing entries for files that exist on disk
- You copied files from another CMS straight into uploads and need WordPress to see them
- Old FTP-uploaded images have been sitting unregistered for years and you finally want to use them
Poor fit:
- You are starting fresh and just want to upload files. If FTP is not already part of your routine, uploading through the dashboard or an app is one step instead of two.
- You want to get phone photos into WordPress. Phone → FTP client → dashboard → scan → import is a long way around (more on this below).
- You want to organize or optimize files already in the library. Media Sync only registers unregistered files; cleanup and compression belong to other tools.
For a side-by-side of FTP against the other upload routes, see the four-method comparison in How to Batch Upload Photos to WordPress from Your Phone.
If You Want to Upload Straight from Your Phone
A fair number of people researching Media Sync are not actually after FTP registration — the real goal is "get the photos on my iPhone into WordPress in bulk." For that job, the FTP + Media Sync combination is too many moving parts: transfer files with a mobile FTP client, open the dashboard in a browser, scan, select, import.
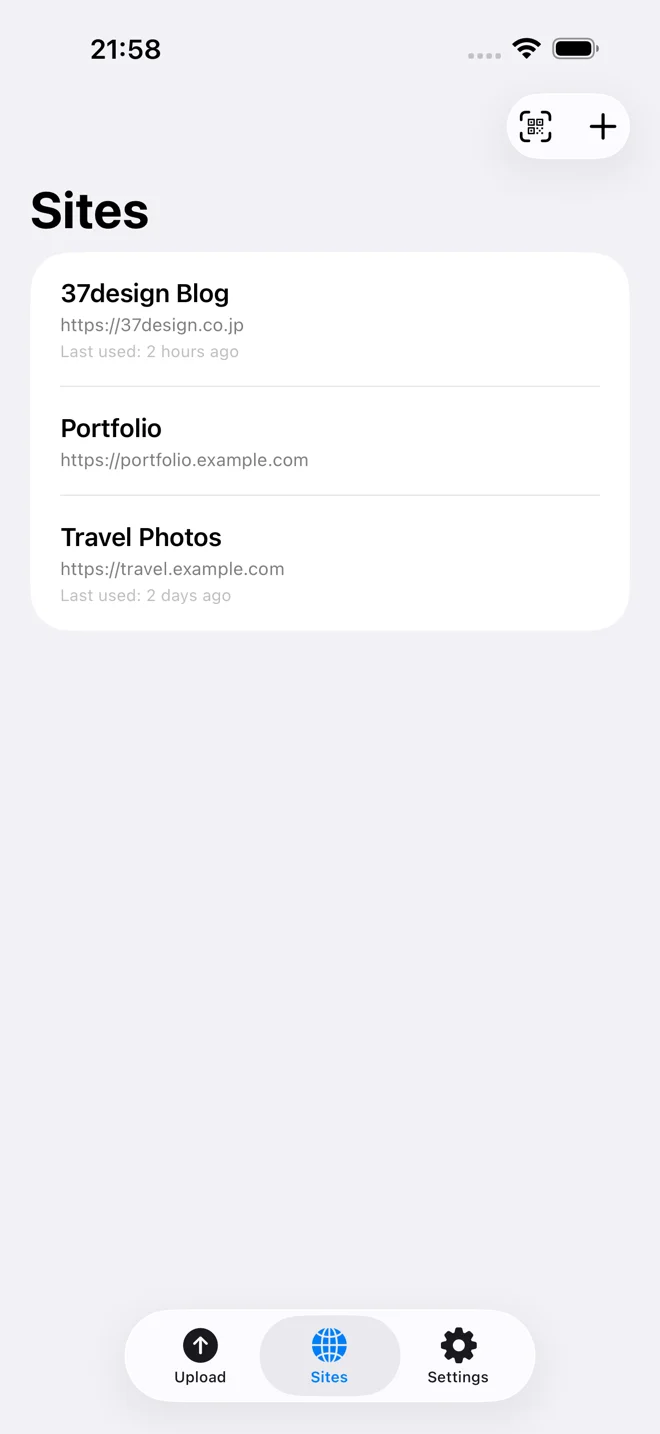
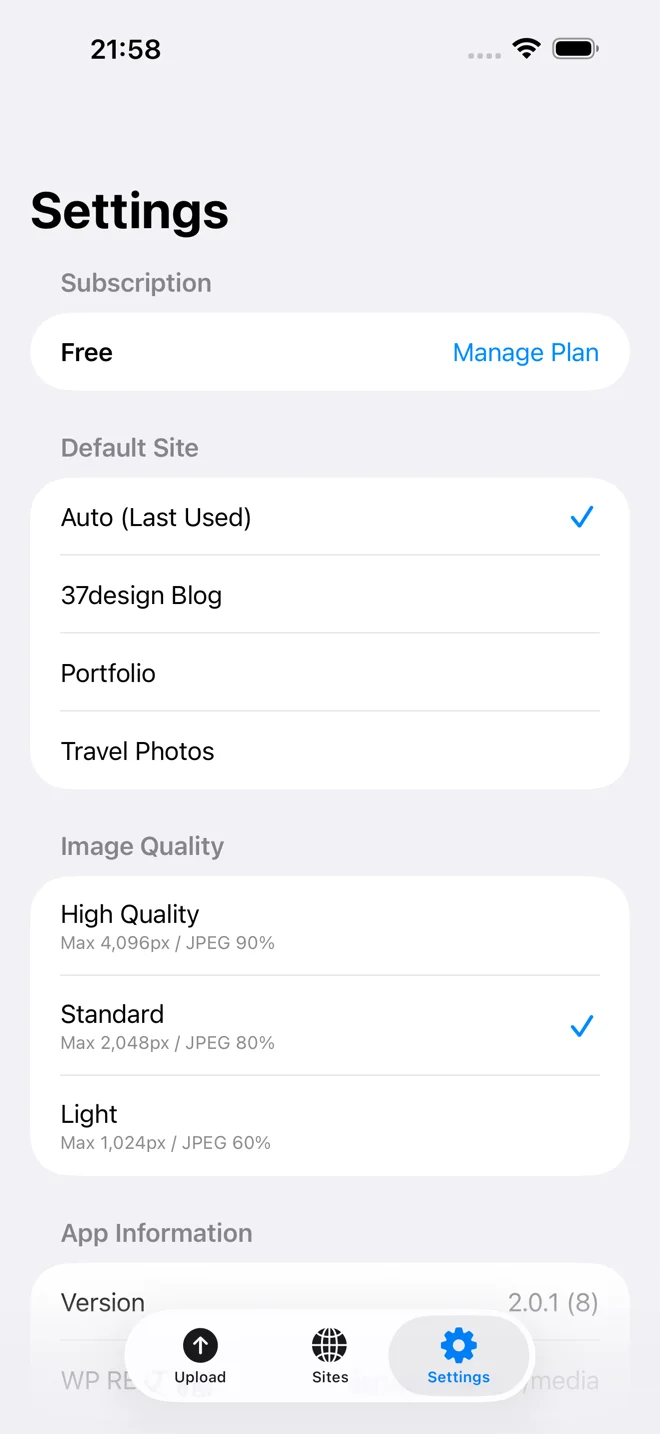
A dedicated app like SnapPress collapses that into one step. Pick photos from your library (or share them straight from the Photos app), tap upload, and they land in the Media Library via the WordPress REST API. HEIC converts to JPEG on the device, so there is nothing to configure server-side, and up to 20 photos upload in parallel — no PHP timeout to worry about.
The practical division of labor: Media Sync for registering big FTP drops from a desktop, SnapPress for the day-to-day flow of iPhone photos. They are not competitors — they cover different entry points into the same Media Library. For the full mobile workflow, see Bulk Upload Images to WordPress from Your Phone: The Complete Guide and the app comparison in 5 Best WordPress Photo Upload Apps Compared.
Recap
- Media Sync is a free, actively maintained plugin (50,000+ installs) that registers FTP-uploaded files from the uploads folder into the Media Library in bulk.
- Workflow: Media Sync menu → scan → check files → import. Uncheck Dry Run before the real run.
- Timeouts? Import 50-100 files per batch. Missing thumbnails? Run Regenerate Thumbnails afterwards.
- Its scope is files already on the server. For uploading photos directly from an iPhone, a dedicated app like SnapPress is the shorter path.
If iPhone photos are a regular part of your WordPress publishing, try SnapPress free on the App Store — no FTP, no scanning, just select and upload.
Frequently Asked Questions
Is the Media Sync plugin free?
Yes. Media Sync is free on the official WordPress plugin directory, and the core workflow — scanning the uploads directory and importing unregistered files into the Media Library — is fully included in the free version. A Pro version adds incremental scanning for very large file sets, but for a few hundred files the free version is all you need.
Does running Media Sync affect files already in my Media Library?
No. Media Sync only detects files that exist in the uploads folder but are missing from the WordPress database, and registers those. Files already in the Media Library are never touched. If you want extra reassurance, run it once with the Dry Run option checked — it simulates the import and shows you the results without writing anything.
Why are thumbnails missing after the import?
Thumbnail generation during import depends on server memory and execution time, and large batch imports can skip it partway through. The fix is to run the free Regenerate Thumbnails plugin afterwards — it rebuilds every image size for registered attachments in one pass. Media Sync plus Regenerate Thumbnails is a common pairing for exactly this reason.
Why doesn't my file show up in the scan results?
Three usual causes: (1) the file sits outside wp-content/uploads, (2) file permissions are too strict for the web server to read it (use 644 for files, 755 for folders), or (3) the file is already registered in the Media Library. Note that Media Sync deliberately skips hidden files, WordPress-generated thumbnails, -scaled images, and retina (@2x) versions — those not appearing is expected behavior.
Can I use FTP plus Media Sync to upload photos from my phone?
Technically yes, but it is a detour. You would transfer files with a mobile FTP client, then open the WordPress dashboard in a browser, scan, select, and import — a multi-step workflow on a small screen. If your actual goal is getting iPhone photos into WordPress, a dedicated app like SnapPress does it in one step: pick photos, tap upload, and they land in the Media Library via the REST API.
The import hangs forever with a spinner. What should I do?
You are hitting a server timeout. The proper fix is raising max_execution_time and memory_limit in php.ini, but if your shared host does not allow that, select only 50-100 files per run and import in batches. The free version processes everything you select in a single pass, so splitting the selection is the most reliable workaround.
About the author

Founder & CEO, 37Design
Founder & CEO of 37Design, a web and AI consultancy based in Tokyo, Japan. Built SnapPress to eliminate the pain of uploading dozens of iPhone photos to WordPress — one by one.
37design.co.jp