 SnapPress
Upload Photos to WordPress Without Jetpack: 6 iPhone Methods (2026)
Short answer: the fastest way to upload photos to WordPress without Jetpack is to use WordPress Application Passwords (built into core since 5.6) with either the official WordPress app or a dedicated tool like SnapPress. Both authenticate against the REST API directly, no WordPress.com account required.
I run about 20 self-hosted WordPress sites for clients. Not a single one has Jetpack installed. It's a fine plugin for some people, but for my use case it's too heavy, and I don't like connecting client sites to WordPress.com infrastructure when I don't have to.
The problem is that the official WordPress mobile app basically requires Jetpack if you want it to work with self-hosted sites. So for years, uploading photos from my iPhone to WordPress meant opening Safari, logging into the admin dashboard on a tiny screen, and praying the upload wouldn't time out halfway through.
I tried a lot of workarounds. Some were clever. Most were annoying. This guide is the result of three years of testing on real client sites, real cellular connections, and real frustrations. Below: six approaches compared side by side, a step-by-step setup for the most common one, and what to do when your host blocks the REST API entirely.
Why Avoid Jetpack? Real Reasons
The elephant in the room first: Jetpack is the default answer to "how do I use the WordPress mobile app?", and for a lot of people that works. So why avoid it?
Plugin weight. Jetpack is one of the largest plugins in the WordPress ecosystem. The full installation adds dozens of modules, each loading its own JavaScript, CSS, and database queries. On a client site I audited last year, removing Jetpack dropped the admin dashboard load time from 4.2 seconds to 1.1 seconds. The frontend was less affected, but the editorial experience was night and day.
Data transfer through WordPress.com. When Jetpack syncs your site, it sends post content, comments, user data, and media references to WordPress.com servers. This is documented behavior, not a secret, but it surprises people. For sites with strict data residency requirements (EU clients, healthcare-adjacent businesses, or anyone with a privacy-sensitive customer base), this is often a non-starter. I have one client whose legal team explicitly forbade any plugin that routes data through third-party servers.
WordPress.com account requirement. To use Jetpack, every site must be connected to a WordPress.com account. If you build sites for clients, this means either using your personal account (and being the single point of failure if you lose access), creating a separate WordPress.com account per client (annoying), or asking clients to create their own (good luck with that conversation).
Performance impact on shared hosting. On budget hosts where PHP memory and CPU are tight, Jetpack's background sync jobs can cause real problems. I have seen Jetpack push a site over its memory limit during a sync cycle, triggering 500 errors for visitors. The host's solution was always "upgrade your plan." Removing Jetpack solved it for free.
Update fatigue. Jetpack updates frequently, sometimes weekly. Each update has the potential to introduce a new module you didn't ask for, change a setting, or conflict with another plugin. For a site that just needs to publish content, this is a maintenance burden with no upside.
None of this means Jetpack is bad. It means Jetpack is opinionated, and those opinions don't fit every site. If you've decided you don't want it, you need a different path for mobile uploads.
Why Jetpack Keeps Coming Up
The WordPress mobile app uses the WordPress.com API under the hood. For WordPress.com sites, this works out of the box. For self-hosted sites, you need Jetpack to bridge the gap between your server and the WordPress.com API.
Without Jetpack, the app falls back to XML-RPC or the WordPress REST API. XML-RPC is disabled by many hosting providers for security reasons. The REST API works, but the app's support for it on self-hosted sites has always been flaky. Login fails, media doesn't sync, uploads hang. I've spent more time debugging this than I care to admit.
If you don't want Jetpack, you need a different path entirely — six options I've actually used in production.
Upload Methods Without Jetpack: Side-by-Side
Here's the comparison table I wish I'd had three years ago. Speed: a 10-photo batch over LTE. Cost is upfront only; ongoing hosting costs aren't included.
| Method | Speed (10 photos) | Cost | Setup Difficulty | iPhone Native? |
|---|---|---|---|---|
| SnapPress (iOS) | ~45 sec | Free / $4.99 lifetime | Easy (90 sec) | Yes |
| WordPress official app + Application Password | ~3 min | Free | Medium (10 min) | Yes |
| REST API + Siri Shortcuts | ~5 min (if it works) | Free | Hard (20-30 min) | Yes (fragile) |
| SFTP + Media Sync plugin | ~10 min | Free / paid plugin | Hard (30+ min) | Partial (needs FTP app) |
| Email-to-Post (Postie etc.) | ~2 min per email | Free | Medium (15 min) | Yes (Mail.app) |
| Cloud sync (Dropbox + Media from FTP) | Async (background) | Free / paid plugin | Medium (20 min) | Yes (Files.app) |
The right pick depends on what you're optimizing for. If you upload weekly and value your time, SnapPress wins. If you'll only do this once or twice and refuse to spend a dollar, the WordPress app with Application Password works once you survive the setup. Each option has its place.
Option 1: Mobile Browser Upload
This is the brute-force method. Open Safari, go to yoursite.com/wp-admin, log in, navigate to Media, tap "Add New," and select your photos.
No Jetpack needed. No extra apps. It works with any WordPress site.
It also takes forever. The WordPress admin wasn't designed for phones. Buttons are tiny. The upload progress indicator is almost invisible. And if your screen locks during a 15-photo upload, Safari kills the connection. You start over.
I used this method for three years. Consistently frustrating. The admin dashboard on an iPhone screen feels like trying to use a desktop app through a keyhole. You can do it, but you'll be annoyed every time.
For a single photo, it's fine. For five or more, look elsewhere. If you regularly need to batch upload photos from your phone, this method will eat your day.
Option 2: Siri Shortcuts
Around 2023, a few developers published Siri Shortcuts that upload photos to WordPress using the REST API directly. The idea is neat: you select photos in the Photos app, run the shortcut, and it POSTs them to your site's /wp/v2/media endpoint.
I tried this. It works, technically. But "technically works" and "works well" are very different things.
The setup takes 15 to 20 minutes if you know what you're doing. You need to create a WordPress application password, find your REST API base URL, and paste both into the shortcut's configuration. If your site uses a non-standard permalink structure or has a security plugin that modifies REST API access, expect to spend another hour figuring out why it's returning 401 errors.
Once configured, the shortcut uploads one photo at a time in a loop. There's no progress indicator other than a spinning wheel. If one upload fails (and they do fail, especially on cellular), the whole shortcut stops. No retry. You have to figure out which photos made it and which didn't, then run it again with the remaining ones.
The worst part: Siri Shortcuts break. Apple changes the Shortcuts runtime between iOS versions, and these community-made shortcuts aren't actively maintained. The one I was using stopped working after iOS 18.2 and nobody has fixed it.
If you're a tinkerer who enjoys this kind of thing, go for it. For regular use, I can't recommend it.
Option 3: WordPress Official App with Application Password
This is the path most people don't realize exists. The WordPress mobile app does support self-hosted sites without Jetpack, but only if you authenticate via Application Password. The flow is buried under the Jetpack onboarding screen, and you have to know to look for it.
It's free, it's official, and once configured it works reliably for media uploads. It's slower than purpose-built tools, but it does the job. See the next section for a step-by-step walkthrough.
Step-by-Step Setup Guide: Application Password Method
Application Passwords landed in WordPress 5.6 (December 2020). They're scoped credentials your phone can use to authenticate against the REST API without exposing your main login password. Here's how to set them up and connect the WordPress official app without Jetpack.
Step 1: Verify Application Passwords are enabled
Log into your WordPress dashboard on a desktop. Go to Users > Profile and scroll to the bottom. You should see a section labeled Application Passwords.
[Screenshot: WordPress user profile page showing the Application Passwords section near the bottom]
If the section is missing, your host has likely disabled it via a security plugin or a custom wp-config.php setting. Check for WP_APPLICATION_PASSWORDS_AVAILABLE being set to false, or look in plugins like Wordfence or iThemes Security for an option that disables Application Passwords. Re-enable it before continuing.
Step 2: Generate a new Application Password
In the New Application Password Name field, type something like iPhone WordPress App. The name is just a label so you can revoke it later if you change phones. Click Add New Application Password.
[Screenshot: Generated 24-character Application Password displayed in a yellow highlight box]
WordPress will display a 24-character password broken into groups of four. Copy it now. Once you close this screen, you can't view it again. If you lose it, you'll need to revoke and regenerate.
Step 3: Install the WordPress mobile app
Open the App Store and install the official WordPress app (publisher: Automattic). Open it after installation.
Step 4: Choose self-hosted setup, not WordPress.com
On the welcome screen, tap Enter your existing site address rather than the big "Continue with WordPress.com" button. This is the critical step that most tutorials skip.
[Screenshot: WordPress app welcome screen with "Enter your existing site address" highlighted at the bottom]
Step 5: Enter your site URL and credentials
Type your full site URL including https://. The app will detect that it's self-hosted and prompt you for credentials.
For username, enter your normal WordPress username. For password, paste the 24-character Application Password from Step 2. Don't enter your real WordPress password. The app will reject it and try to push you to Jetpack.
[Screenshot: WordPress app login screen with username field and password field showing the application password being pasted]
Step 6: Verify upload functionality
Once logged in, tap the + button and choose Upload Media. Select a single photo first to confirm the connection works. If it uploads successfully, you're done. The photo will appear in your Media Library identical to any other upload.
[Screenshot: WordPress app media upload screen with a single photo selected and upload progress at 60%]
If it fails with a 401 error, your Application Password is wrong, or your host is blocking REST API authentication (see the next section). If it fails with a 413 error, your file is too large for your server's upload_max_filesize setting; either resize before uploading or ask your host to raise the limit.
This setup takes about 10 minutes the first time and 30 seconds for any subsequent device. If you're already comparing the best WordPress photo upload apps, the official one with an Application Password is the free baseline to beat.
What If Your Host Blocks REST API?
Several budget hosts restrict REST API access by default. Bluehost, HostGator, and some SiteGround configurations have all caused me trouble. The symptom is usually a 401 or 403 error when you try to log into the WordPress mobile app, even with a correct Application Password. Here's how to diagnose and work around it.
Step 1: Test the REST API directly
From a desktop browser, visit https://yoursite.com/wp-json/. You should see a JSON response listing available endpoints. If you get a 404, your permalinks are misconfigured (go to Settings > Permalinks and click Save). If you get a 403 or a security challenge page, your host or a security plugin is blocking it.
Step 2: Check your security plugin
Wordfence, iThemes Security, All In One WP Security, and Sucuri all have options to disable or restrict the REST API. Open your security plugin's settings and look for "Disable REST API" or "Restrict REST API to logged-in users." If either is enabled, switch them off temporarily and retest.
Step 3: Whitelist the REST API in .htaccess
Some hosts add mod_security rules that block REST API requests with auth headers. You can sometimes whitelist /wp-json/ by adding this to your .htaccess above the WordPress block:
<IfModule mod_rewrite.c>
RewriteEngine On
RewriteRule ^wp-json/(.*)$ /index.php?rest_route=/$1 [QSA,L]
</IfModule>
This forces the REST API to use the query parameter style, which sometimes bypasses host-level restrictions. It's a workaround, not a fix, but it has worked for me on two HostGator sites.
Step 4: Contact host support
If the previous steps fail, the block is at the server or firewall level and you need the host to whitelist your domain. Open a support ticket with this exact request: "Please whitelist authenticated REST API requests to /wp-json/ for my domain. I am using WordPress Application Passwords for mobile uploads." Most hosts will do it within 24 hours. Some will tell you to upgrade your plan; that's a sign to switch hosts.
Step 5: Fall back to SFTP
If REST API is genuinely unavailable, you can still upload images by SFTP and have a plugin like Add From Server or Media from FTP register them in the Media Library. Use an iOS SFTP client like Transmit or Working Copy to upload to /wp-content/uploads/, then run the plugin's import function. It's not elegant, but it bypasses every REST API restriction. This is also the workflow I use when I need to bulk upload images to WordPress from a phone on hosts where REST API is rate-limited.
Option 4: Email-to-Post (Postie and similar)
Postie is a free WordPress plugin that lets you publish posts (and attach images) by sending an email to a dedicated mailbox. You configure an IMAP-accessible inbox, install the plugin, and any email sent to that address becomes a post with the attached photos in the Media Library.
The advantage: it works from any device with an email client, including the stock iPhone Mail app. You don't need a special app or Application Password setup. The disadvantage: it's slow, attachments are usually capped at one or two per email by your mail provider, and HEIC handling is hit or miss. If you want a no-friction way to dump photos into a draft post for later editing, this works. For batch media uploads, it doesn't scale.
Option 5: Cloud Sync (Dropbox + Media from FTP)
Set your iPhone's Photos app to auto-upload to Dropbox or iCloud Drive. On your server, mount that folder via the host's filesystem (or rclone), and use the Media from FTP plugin to scan the folder and import new files into the Media Library on a schedule.
This is async by design. You take photos throughout the day, and a cron job picks them up overnight. It's hands-off once configured, which is great for sites that are constantly publishing photo content (real estate, food blogs, event coverage). But the setup is involved, you need server-side filesystem access, and you give up the ability to attach metadata (alt text, captions) at upload time.
Worth it for some workflows, overkill for most.
Option 6: SnapPress (What I Actually Use)
This is where I should be transparent: I built SnapPress because the other options frustrated me enough to write an app.
The idea is simple. Install a small plugin (SnapPress Connect) on your WordPress site. It generates a QR code. Scan it with the SnapPress app on your iPhone. Done. Your site is connected.
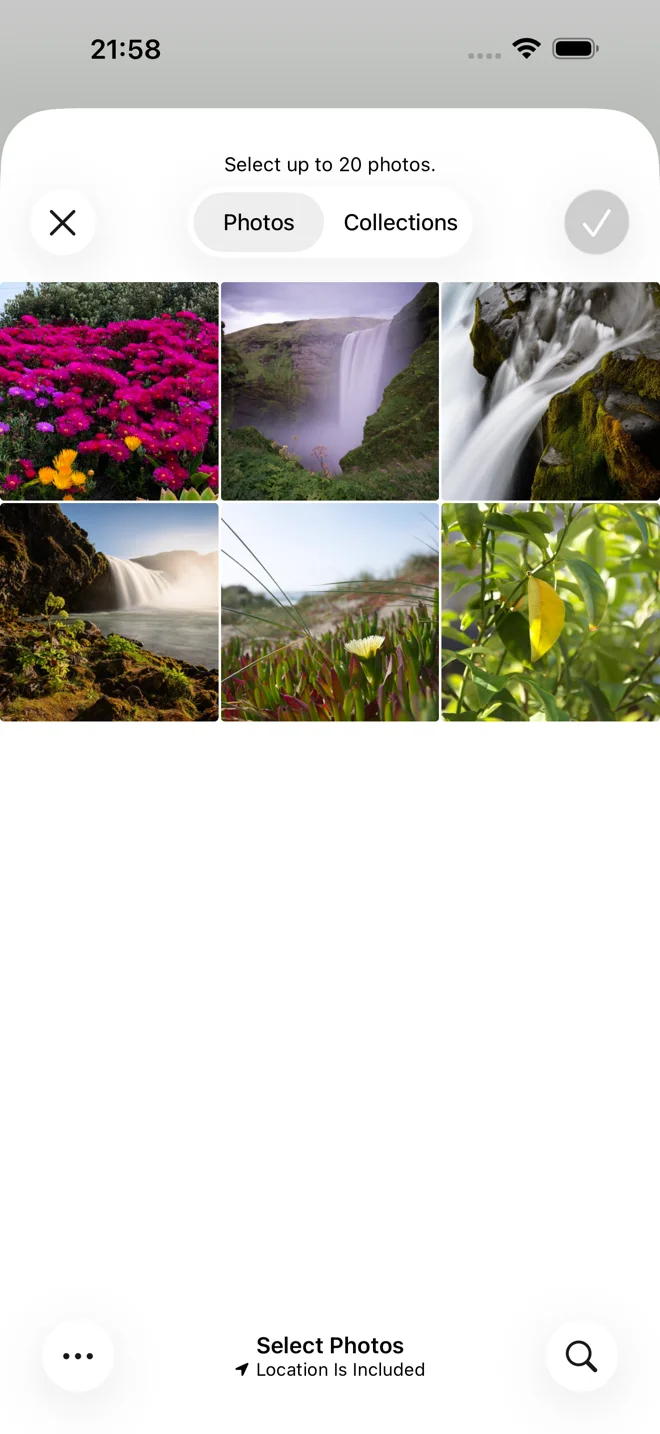
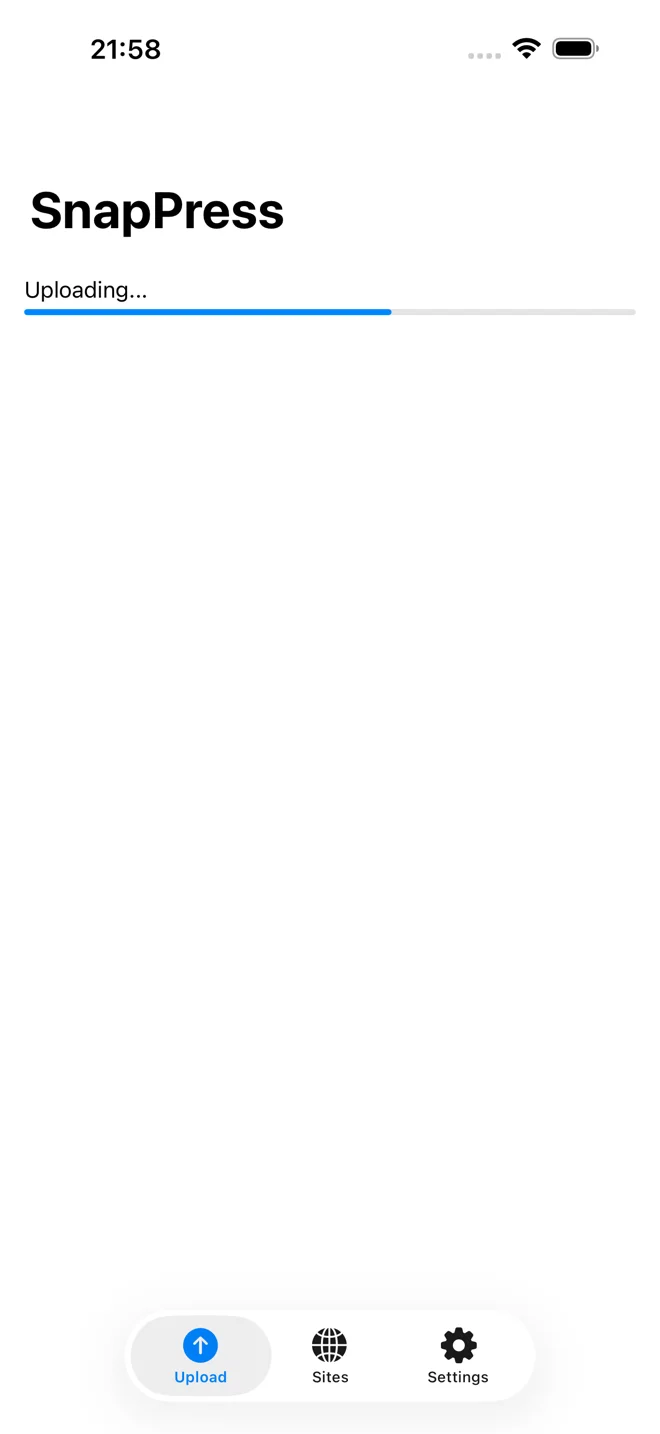
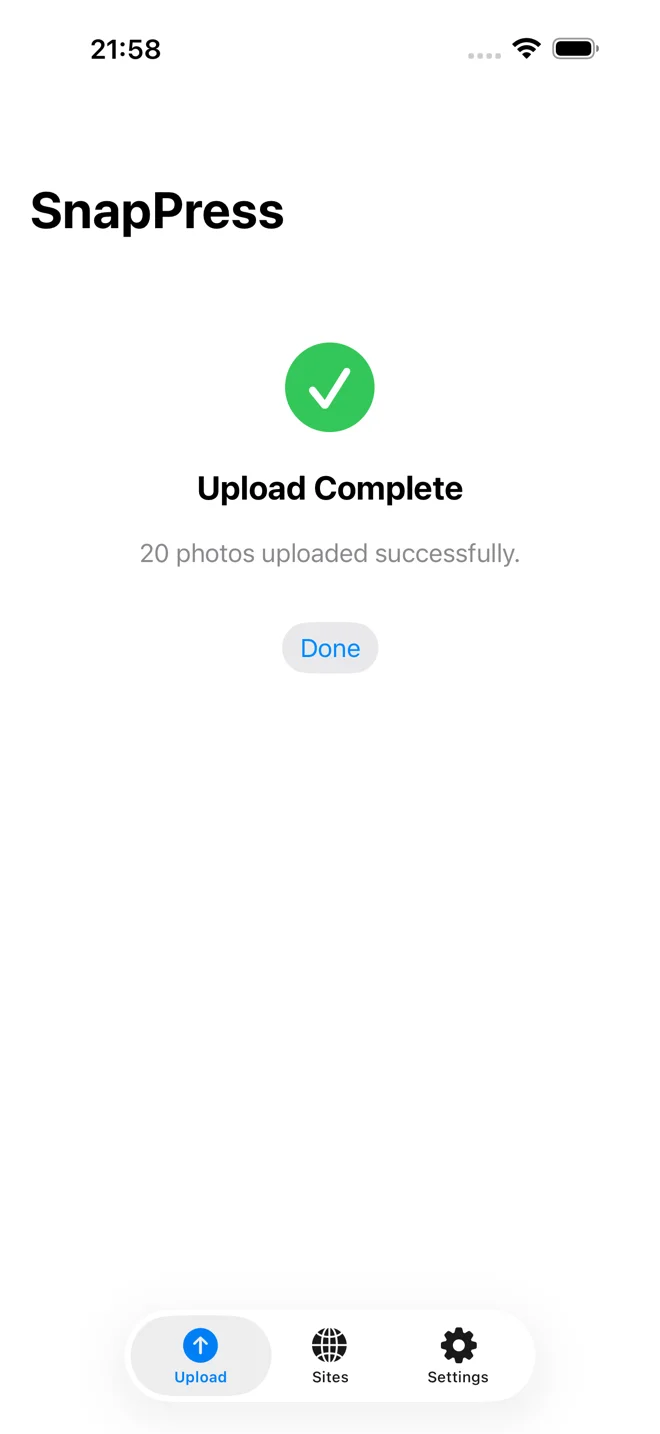
From there, pick up to 20 photos and tap upload. They go directly to your Media Library through the WordPress REST API. No Jetpack. No WordPress.com account. No XML-RPC. Just HTTPS and application passwords.
The part that saves me the most time is the Share Extension. I can select photos in the Photos app, tap Share, choose SnapPress, and they upload without me ever opening the app itself. For someone who uploads photos to client sites multiple times a week, this cut my workflow from 10 minutes per batch to under 60 seconds.
SnapPress also handles HEIC conversion automatically, which matters more than you'd think. iPhones save photos as HEIC by default, and WordPress doesn't accept HEIC out of the box on most hosts. If you've struggled with HEIC photos on WordPress from an iPhone, this alone is worth the price.
Setup takes about 90 seconds
- Install SnapPress Connect from the WordPress Plugin Directory.
- Go to Tools > SnapPress Connect in your dashboard.
- Click "Generate QR Code with One Tap."
- Scan the QR code with the SnapPress app.
That's literally it. The plugin creates an application password automatically, encodes your site URL and credentials into the QR code, and the app stores everything in your iPhone's Keychain. You never type a password on a phone keyboard.
What it doesn't do
SnapPress uploads to the Media Library only. It doesn't create posts or pages. If you need a full site management tool on your phone, the WordPress app (with Application Password as described above) is better for that. SnapPress solves one problem: getting photos from your phone to your WordPress site fast, without Jetpack.
It's free to start with 10 photos per month. Standard is $0.99/month, or $4.99 as a one-time lifetime purchase if you want to avoid subscriptions entirely.
The Real Issue
WordPress's mobile story has always been "install Jetpack." For WordPress.com users, that's fine. For the rest of us running self-hosted sites with specific security requirements, performance budgets, or just a preference for fewer plugins, that answer has never been good enough.
The REST API has been in WordPress core since version 4.7. Application passwords landed in 5.6. The pieces for a Jetpack-free mobile upload experience have been there for years. It just took a while for someone to build the apps and shortcuts to take advantage of them.
You now have six paths to choose from. Pick whichever matches your tolerance for setup pain and your upload frequency. Whatever you choose, you don't have to install Jetpack just to put a photo on your own website.
If you're in the same boat I was (self-hosted, no Jetpack, need to upload photos from your phone often), give SnapPress a try. It's the tool I built for myself, and it turns out other people needed it too.
Frequently Asked Questions
Do I need a paid plugin to upload photos to WordPress without Jetpack?
No. Application Passwords ship with WordPress 5.6 and later, so the underlying authentication is free and built in. You can use the official WordPress mobile app, a Siri Shortcut, or a third-party app like SnapPress without paying for any premium plugin. Even SnapPress is free to start (10 photos/month); if you want unlimited uploads, Standard is $0.99/month or a one-time $4.99 lifetime purchase.
Will photos uploaded via the REST API still appear in the Media Library normally?
Yes. Anything posted to the /wp/v2/media endpoint becomes a regular attachment in your Media Library, identical to a desktop upload. Your image gets the standard responsive sizes (thumbnail, medium, large) generated by WordPress, and you can attach it to posts, set it as a featured image, or edit its alt text from the dashboard. There's no separate storage location.
What if my host blocks the REST API or XML-RPC?
Some shared hosts like Bluehost, HostGator, and SiteGround restrict REST API access for security or performance reasons. If you get a 401 or 403 error, first try whitelisting /wp-json/ in your security plugin or .htaccess. If your host blocks it at the server level, contact support and ask them to allow authenticated REST API access for your account, or switch to SFTP-based uploads with a media-sync plugin as a fallback.
Is uploading via Application Password as secure as Jetpack?
Application Passwords are arguably more secure for mobile uploads because they're scoped, revocable, and never expose your real WordPress password to the device. Each app gets its own password, and you can revoke any of them from the user profile screen without affecting your main login. Jetpack routes traffic through WordPress.com servers, which adds a third party to the chain. Application Passwords keep the connection direct between your phone and your server.
Can I upload HEIC photos from my iPhone without converting them first?
It depends on the tool. The WordPress mobile app and most browser-based uploads will reject HEIC files unless your server has HEIC support compiled into ImageMagick or GD, which is rare. SnapPress automatically converts HEIC to JPEG on the device before uploading, so the file lands in your Media Library as a standard JPEG. If you use the REST API directly, you'll need to convert manually or your upload will fail.
How many photos can I upload at once without Jetpack?
There's no hard WordPress limit, but practical limits come from PHP settings on your server (upload_max_filesize, post_max_size, max_execution_time) and the tool you use. The browser admin works for one or two photos at a time on mobile. SnapPress supports batches up to 20 in parallel. SFTP plus a media sync plugin can handle hundreds at once but requires a desktop. Email-to-post is typically capped at one or two attachments per email.
Send iPhone photos straight to WordPress
SnapPress uploads up to 20 photos at once from your iPhone straight to the WordPress media library, converting HEIC to JPEG on the device. No Jetpack and no WordPress.com account — it authenticates with a standard WordPress Application Password. Free for 10 photos a month.
Two steps to start: install the free "SnapPress Connect" plugin on WordPress, then install the iPhone app and pair them with a QR code.
About the author

Founder & CEO, 37Design
Founder & CEO of 37Design, a web and AI consultancy based in Tokyo, Japan. Built SnapPress to eliminate the pain of uploading dozens of iPhone photos to WordPress — one by one.
37design.co.jp